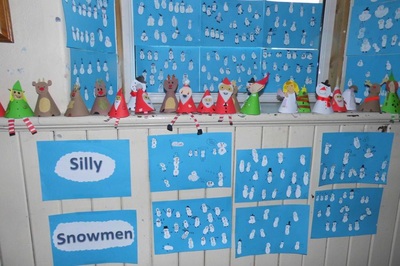
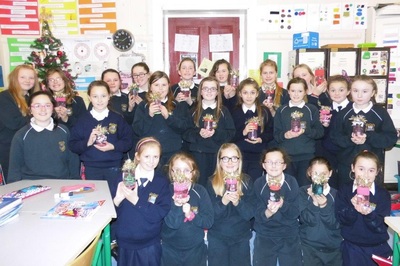
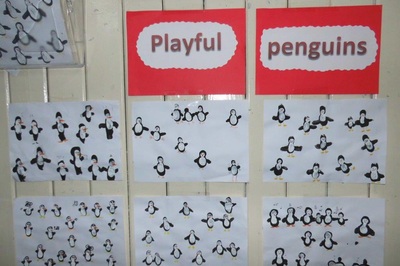
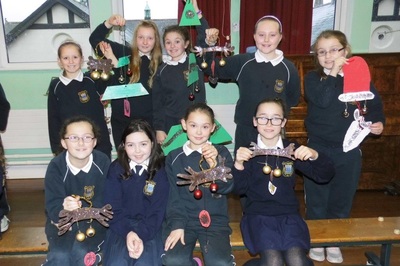
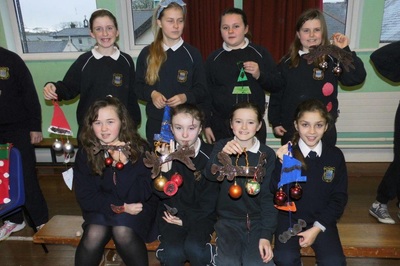
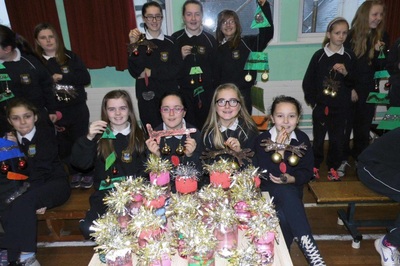
The talented girls in Ms Lambe's 4th and 5th have been very busy preparing for Christmas. Here is a sample of their Christmas art creations which include finger-prick snowmen, snow globes, playful penguins and snow cones. Well done to all our budding artists!
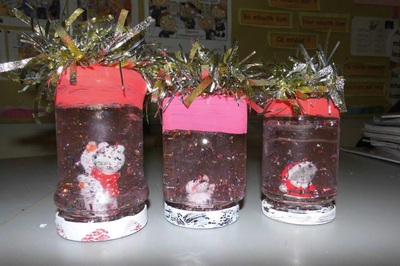
Here is an account, written by the Sophie, Amy and Sandra of how to make the snow globes, or as the girls call them, Storm in a Jar
You will need: Water, a glass jar, plastic toy figure, strong glue, glitter and glycerine.
(Note- Glycerine is a non-toxic liquid that can be bought in most pharmacies. It slightly thickens the water so that your glitter-snow falls more slowly when you shake it. Use about 1 part glycerine to 2 parts water)
Method: -
1. First you put 1 part glycerine to 2 parts water into the glass jar.
2. Next, add as much glitter as you want.
3. Give this a BIG stir.
5. Then, get the lid of your jar and put a large amount of your strong glue onto it. Stick the plastic toy figure to this.
6. Next, put a small amount of glue around the rim of the lid to stop any leaks.
7. Then after the toy is secure, put on the lid VERY TIGHTLY.
8. Finally, give the jar a good shake and enjoy your Storm in a Jar!!
(see the fourth picture in the gallery for the finished product)
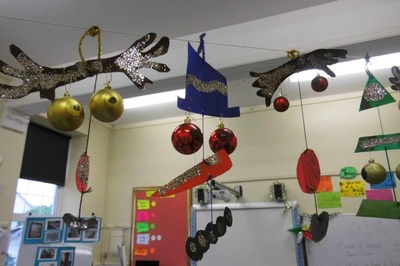
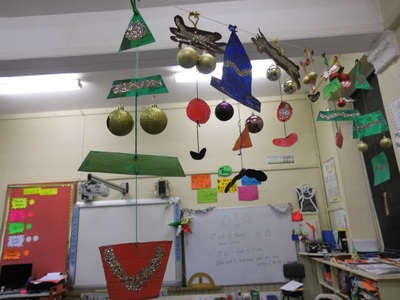
Here is another account, this time written by Eve of how to make the Christmas Mobiles.
You will need: - A cardboard box, 2 Christmas baubles, glitter, paint, googly eyes, crayons, string.
Method: - (to make a Christmas Tree mobile)
1. First you cut out a triangle , a small trapezium, a bigger trapezium and a pot shape (for the base).
2. Next, colour one side of the tree with a green crayon.
3. Then paint the other side the same colour. Also, don't forget to colour and paint your pot whatever colour you want.
4. Next, you put string between the holes from the triangle to the small trapezium. Then put string joining the small trapezium to the big trapezium.
5. In between the two trapeziums put the two baubles for the eyes.
6. Put two googly eyes on the baubles (or you could use paint).
7. Make sure the baubles are not over-lapping the big trapezium.
8. Put glitter over the tree and decorate.
9. Lastly, put a pipe cleaner at the top and hang your mobile up.
(see the third picture in the gallery for the finished product)
